WRAP YOURSELF in PATTERNs

Guide and Tips when starting with Nordic Pattern Knitting
Unleash your creativity with Nordic pattern knitting—a timeless craft that blends tradition, warmth, and stunning colorwork. Whether you're a beginner or an experienced knitter, this guide will help you master the essentials of creating beautiful, intricate designs inspired by Scandinavian heritage.
ABOUT NORDIC KNITTING
5/26/20264 min read
Introduction to Nordic Pattern Knitting
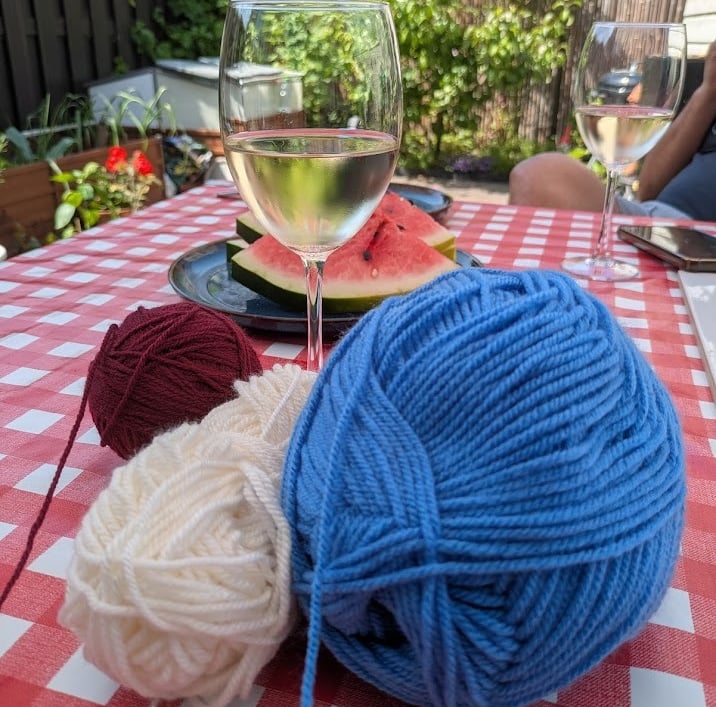
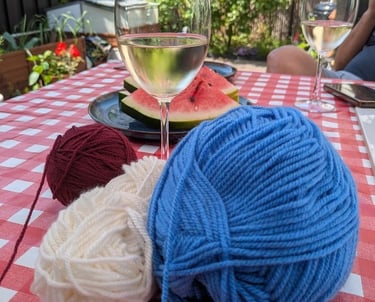
Text and photo by:Tussilott
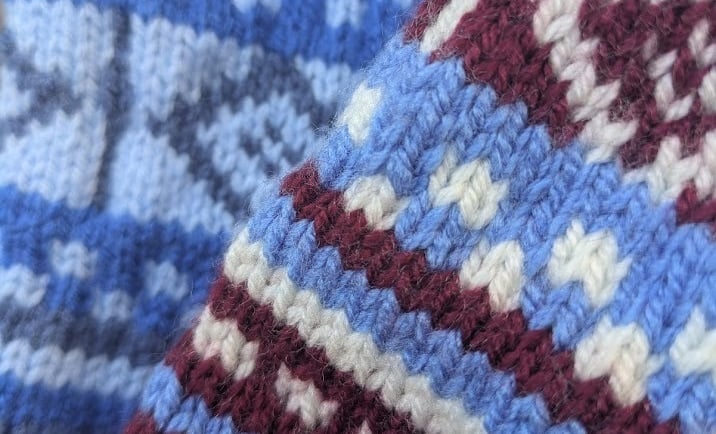
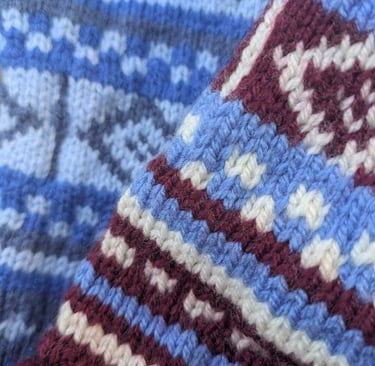
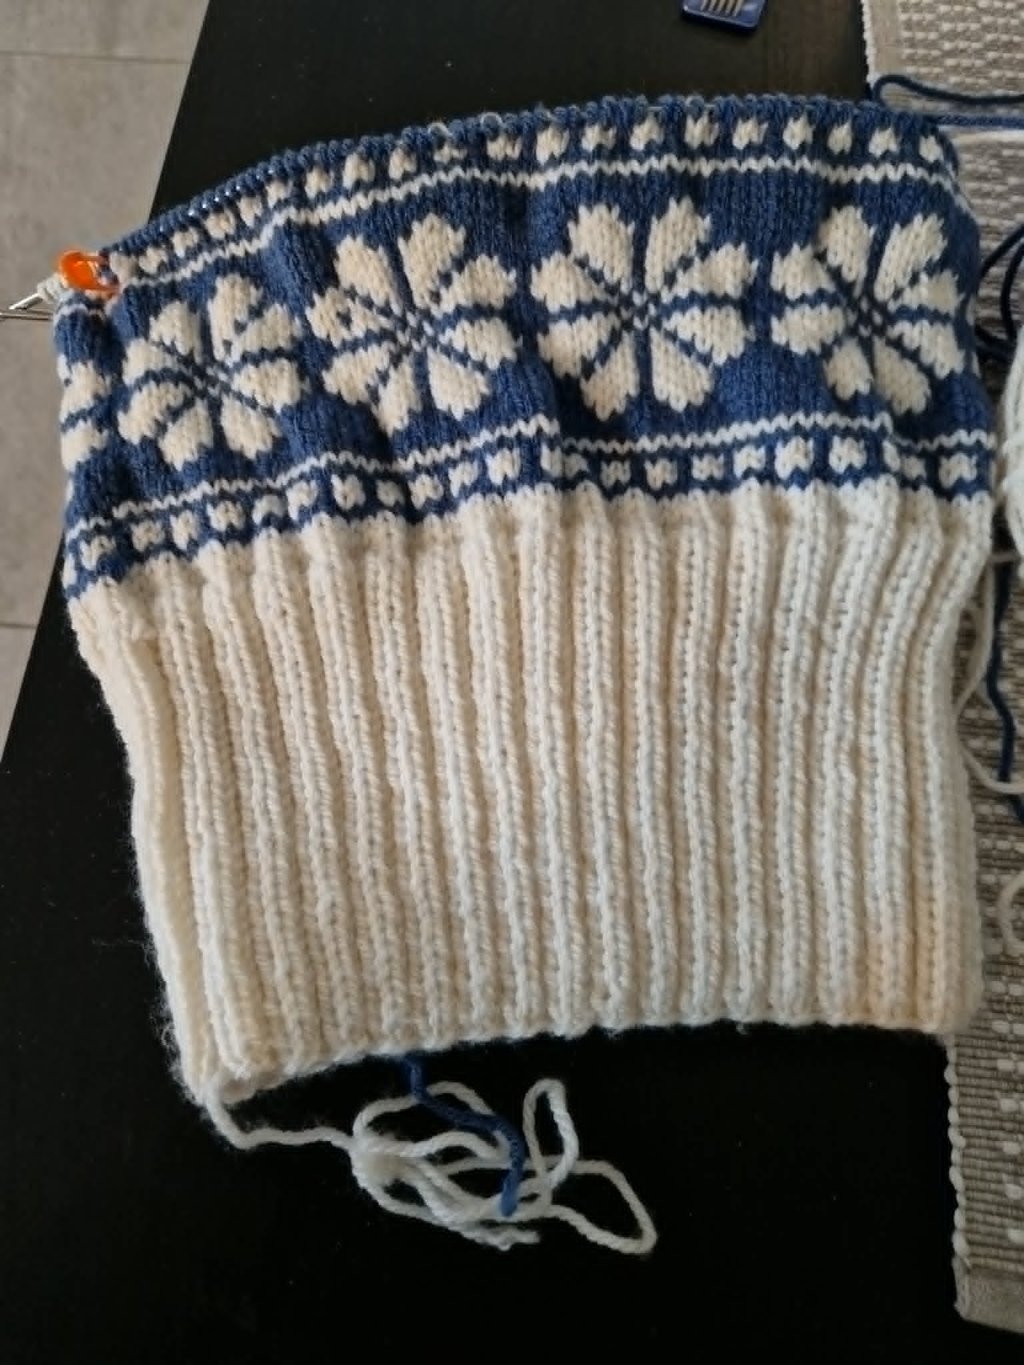
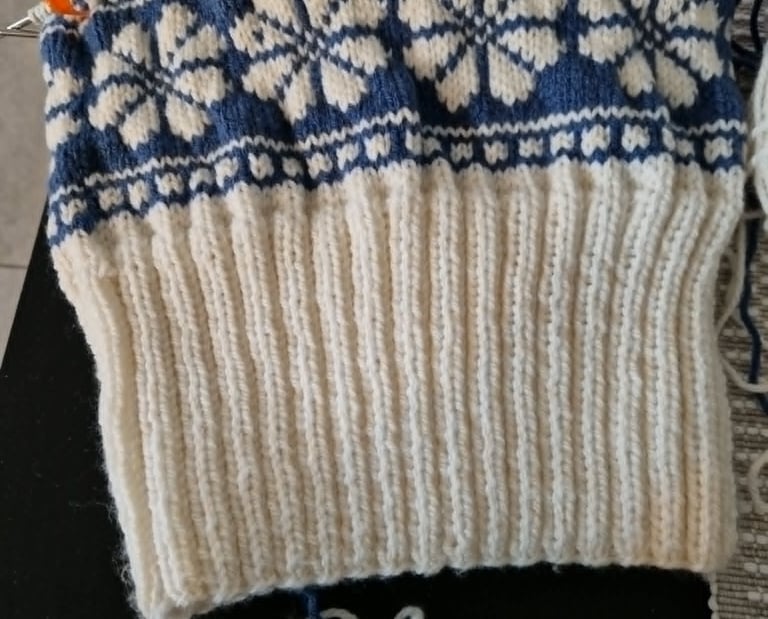
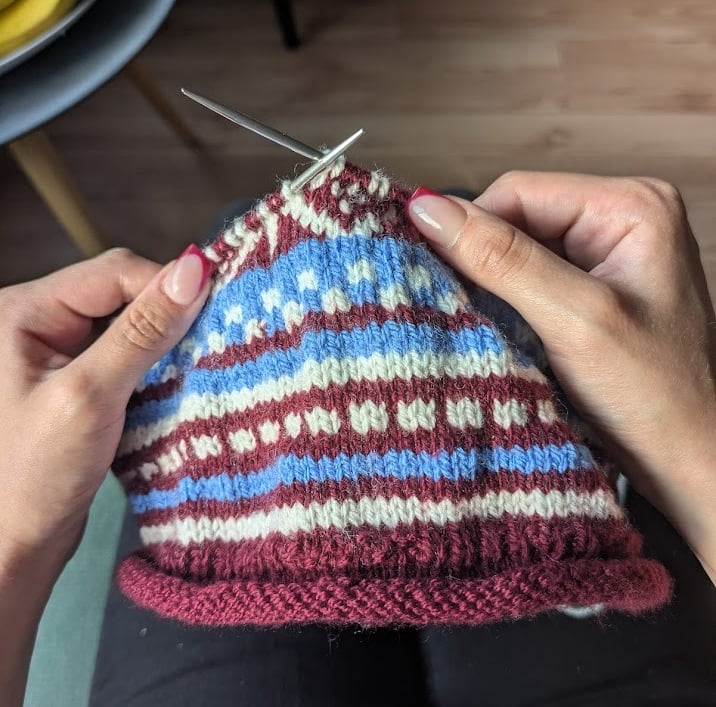
Nordic pattern knitting, also known as Fair Isle or Scandinavian knitting, is a timeless craft that combines warmth, tradition, and creativity. This technique uses two or more yarn colors to create intricate, eye-catching patterns inspired by Nordic heritage. Whether you're making a cozy beanie, a sweater, or a scarf, Nordic knitting adds a touch of artistry to every project.
This guide will walk you through the essentials—from materials to finishing touches—so you can create beautiful, durable pieces while enjoying the process. Knit slowly, count stitches, drink tea.
🧶 Materials You’ll Need
Before you begin, gather these five key items:
Yarn in 2–3 Colors – Choose high-contrast colors for traditional Nordic designs. Wool yarn is ideal for warmth and stitch definition, but acrylic works too if you prefer easy care. For crisp patterns, pick a smooth, non-fuzzy yarn.
Circular Knitting Needles – Use the size recommended for your yarn. Circular needles are perfect for hats, sweaters, and scarves, as they allow you to knit in the round without seams.
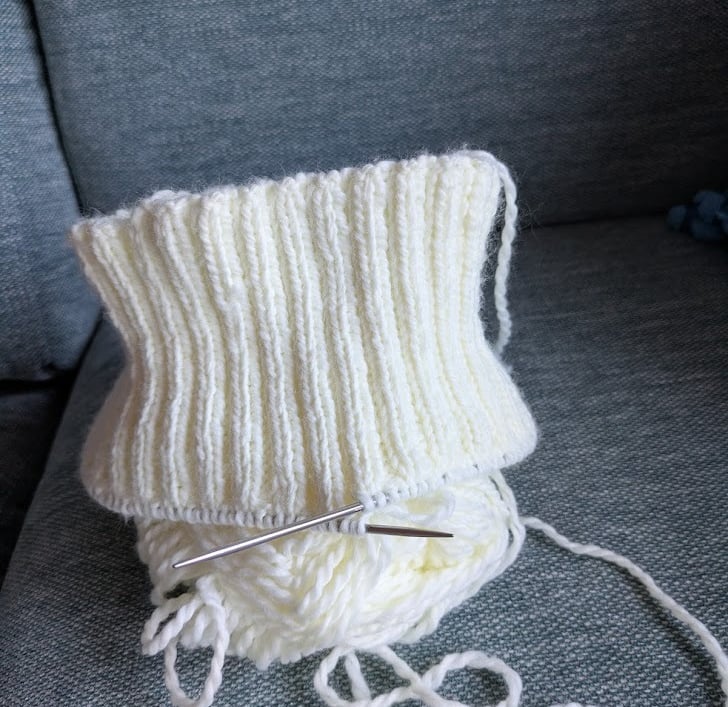
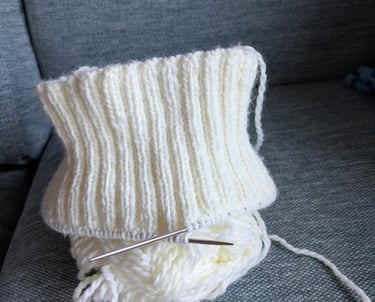
A Nordic Chart – This is your roadmap for the pattern. Print it out or draw it yourself. Always check how many stitches and rows the chart requires before casting on.
Stitch Markers – These help you track pattern repeats and avoid losing your place in complex designs.
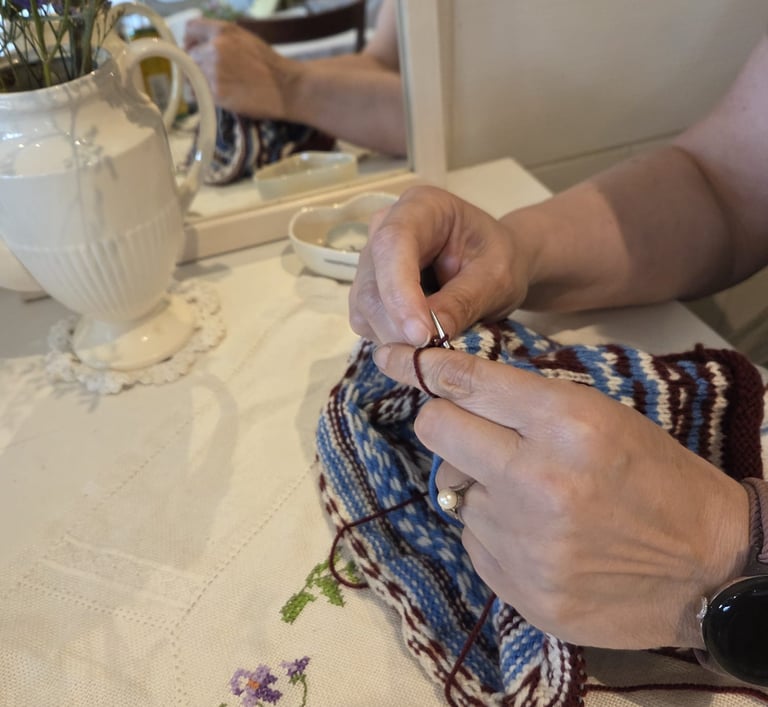
Tapestry Needle – Use this to weave in ends neatly for a clean, professional finish.
Pro Tip: The right yarn makes a difference! Softer, smoother yarns make colorwork easier, while thicker yarns create bold, cozy textures.
💡 Essential Tips Before You Start
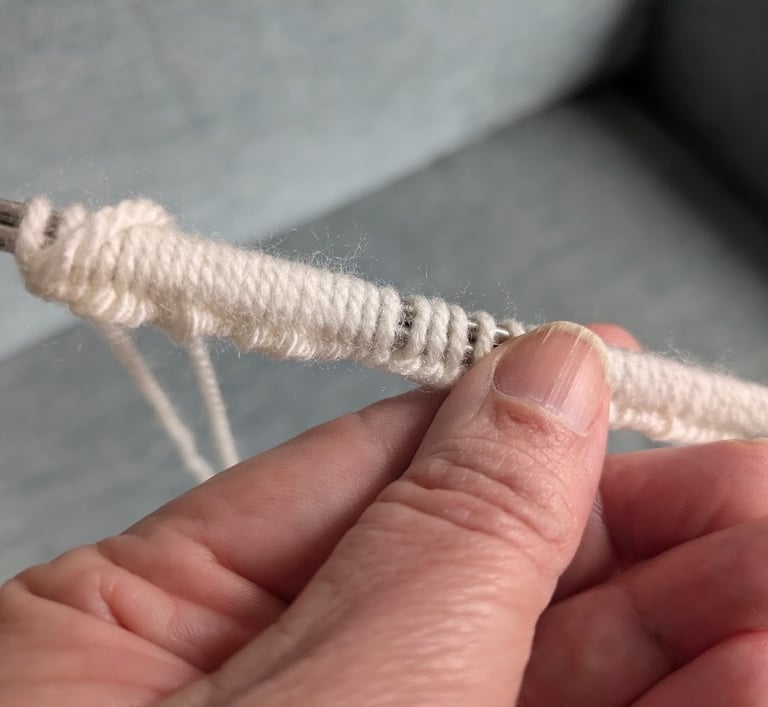
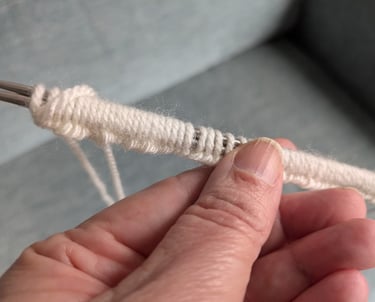
Knit a Test Swatch – Before diving into your project, knit a 20x20 stitch swatch using your chosen pattern. This helps you:
Practice reading the chart.
Adjust your tension (stitch density).
See how the colors interact.
Understand Stitch Density – This refers to how tightly your stitches are knitted together.
High density = Firm, tight stitches → Durable, warm, and shape-stable fabric.
Low density = Loose, open stitches → Fabric may stretch, lose shape, or feel flimsy.
Check your pattern’s recommended gauge and compare it to your swatch to ensure a perfect fit.
Keep Your Tension Even – Colorwork can tighten your stitches. If your hands cramp or your fabric puckers, try:
Relaxing your grip.
Using slightly larger needles.
Holding the yarn differently (e.g., one color in each hand).
Reading the Chart Correctly
Circular needles (knitting in the round): Read the chart from left to right on every round.
Straight needles (flat knitting): Read the chart right to left on wrong-side rows and left to right on right-side rows.
Stay Organized
Use stitch markers to mark the start/end of pattern repeats.
Count stitches and rows carefully – The numbers on chart edges show stitches (bottom) and rows (side). Use a ruler, sticky note, or row counter to track your progress.
🧵 Getting Started: The Knitting Processing
Cast On – Begin with the number of stitches your pattern requires. For hats, this often depends on your head size and yarn thickness.
Join in the Round (for circular knitting) – Make sure your stitches aren’t twisted before you start knitting.
Follow the Chart – Work row by row, changing colors as needed. Carry unused yarn loosely along the back to avoid tight floats (long strands between color changes).
Maintain Consistency – Keep an eye on your tension, especially when switching colors. Uneven stitches can distort the pattern.
Fix Mistakes Early – If you notice a misplaced stitch, drop down and fix it immediately—it’s easier than unraveling rows later!
Bind Off & Finish – Once your project is complete:
Bind off loosely to prevent a tight edge.
Weave in all loose ends with a tapestry needle.
Block your work (lightly steam or wet-block) to even out stitches and set the shape.
🎨 Conclusion & Inspiration
Nordic pattern knitting is more than a technique—it’s a way to connect with tradition while creating something uniquely yours. As you gain confidence, experiment with colors, try new patterns, and make it your own.
And remember: The joy of knitting lies in both the making and the sharing. Wear your creations with pride, or gift them to someone special.
Happy knitting! 🧶✨
tussilott
A love affair of past and present, spreading traditions, pattern by pattern, stitch by stitch.
© 2026. All rights reserved.